Tired of looking for a single file in a sea of digital files on your desktop or computer? Try these amazing #LifeHacks to make your life easier and organize your desktop files better:
1. Files should not be saved on your desktop.
You should not keep any files on your desktop. While it may appear to be handy, it is not a structured method of document management. It will get more difficult to find what you’re looking for when your desktop fills up with more and more files.
Instead, keep temporary files on your desktop. If you know you’ll be working on a document for several days, put it on your desktop where it’ll be easy to find. You should relocate the file to a new location as soon as you’re through with it.

2. Organize your files in a folder
Put all of your documents in one folder, this will help you find your document much easier. Moreover, having a main folder for all your documents gives you enough space on your desktop.
For Windows Users:
- On your desktop, right click your mouse and look for “New”,
- Hover over it then click “Folder”.
- Rename your folder with the appropriate label for it (for example, “School Files”)
For Mac Users:
- On your Mac, click the Finder icon in the Dock to open a Finder window, then navigate to where you want to create the folder.
- Choose “File” > “New Folder” or press Shift-Command-N. If the New Folder command is dimmed, you can’t create a folder in the current location.
- Enter a name for the folder, then press Return.
3. Use subfolders inside your folders
For a more detailed and organized file, use subfolders inside your folders. Putting all of your files in one big folder won’t help you organize them any better than the desktop. As a result, you must create new directories within your main folder.
For Windows Users:
- On your folder, right-click your mouse then look for “New”,
- Hover it over, then click “Folder”
- Rename your folder with the appropriate label for it. (For example, Main Folder: “School Files”, Subfolder “English Subject”)
For Mac Users:
- On your Mac, click the Finder icon in the Dock to open a Finder window.
- Choose “File” > “New Folder” or press Shift-Command-N. If the New Folder command is dimmed, you can’t create a folder in the current location.
- Enter a name for the folder, then press Return.
- Click the new folder then,
- Drag it to the main folder.
4. Use specific and easy to understand names for your folders
Make your folder names as basic as possible. If you’re not sure you’ll remember what abbreviations imply in the future, don’t use them. As a result, avoid unusual names. Consider how you would label moving boxes or file cabinet drawers when marking these folders.
5. Name your folders based on the frequency of your usage
Try putting “AA” or “001” at the beginning of your frequently accessed file or folder’s filename. This will help you save a lot of time on finding them as they will be forced to be on top of your main folder.
6. Organize files right after you’re done editing them.
Always organize your files as soon as possible when they are completed. Don’t save something with a file name such as “asdasd” and save it anywhere on the desktop or in a folder. Get in the habit of clicking the “Save As” option so you can name everything and place it where it belongs straight away.
For Windows Users:
- Click on “File”.
- Click on “Save As”.
- Look for the location where you would want to save your document.
- Change the filename, then click “Save”.
For Mac Users:
To save a document:
- In a document, choose “File” > “Save”, enter a name, choose where to save the document (to see more locations, click the down arrow button), then click “Save”.
- When you save your document, you can add tags in the Finder to help you find it later.
- Save a document with another name: In a document, choose “File” > “Save As”, then enter a new name. If you don’t see “Save As”, press and hold the Option key, then open the File menu again.
- Save a document as a copy: In a document, choose “File” > “Duplicate” or “File” > “Save As”.
7. Back up your files. ALWAYS.
It’s impossible to predict when anything bad will happen to your PC. When you back up your data, you are ensured that you always have a duplicate of your papers, even if you lose them. And these backups shouldn’t be in short supply.
For Windows Users:
- Attach your external drive to your computer.
- Click the Start button at the bottom-left and click the Settings gear
- Click Update and Security
- Click Backup
- Click “Add a Drive”
- Select the external drive that you have attached to your computer.
- Click the “More Options” link
- Click the “Back up now” button
For Mac Users:
- Connect an external hard disk to your Mac and turn the disk on.
You’re asked if you want to use the disk to back up your Mac.
Important: If you create a backup on a Mac running Big Sur, the backup isn’t compatible with Macs running older versions of macOS. - On your Mac, click “Use as Backup Disk”, then follow the instructions in Time Machine preferences.
To open Time Machine preferences, choose Apple menu > “System Preferences”, then click “Time Machine.”

8. Utilize cloud drives
If you do not have any external hard disk drives, backing up your files on the cloud is a good option. Here are some cloud drives that you can consider:
For Windows Users:
- Microsoft OneDrive – Microsoft OneDrive backs up, protects, syncs, and makes your images and data available across all of your devices. You can browse and share OneDrive files, documents, photographs, and videos with friends and family using the OneDrive app. You may use the app to back up your device’s photographs and movies automatically.
- Google Drive – Users may store files in the cloud (on Google’s servers), synchronize files between devices, and share files using Google Drive. Google Drive has applications for Windows and macOS desktops, as well as Android and iOS smartphones and tablets, in addition to a web interface.
For Mac Users:
- iCloud Drive – With iCloud Drive, you can safely store all kinds of documents in iCloud, and access them from all your computers, and iOS and iPadOS devices. If you like, you can have all the files on your desktop and documents folders stored automatically in iCloud Drive. That way, you can save files right where you usually keep them, and they become available on all your computers, and iOS and iPadOS devices.
9. Regularly check and declutter your files
Go through your folders at the end of the week and conduct a quick check to make sure there are no stray files. If your files are thoroughly organized, cleaning up will take no more than 5 minutes.
However, always double-check and make sure that you no longer need the files before removing them from your computer.
10. Use a wallpaper with minimal design and pattern
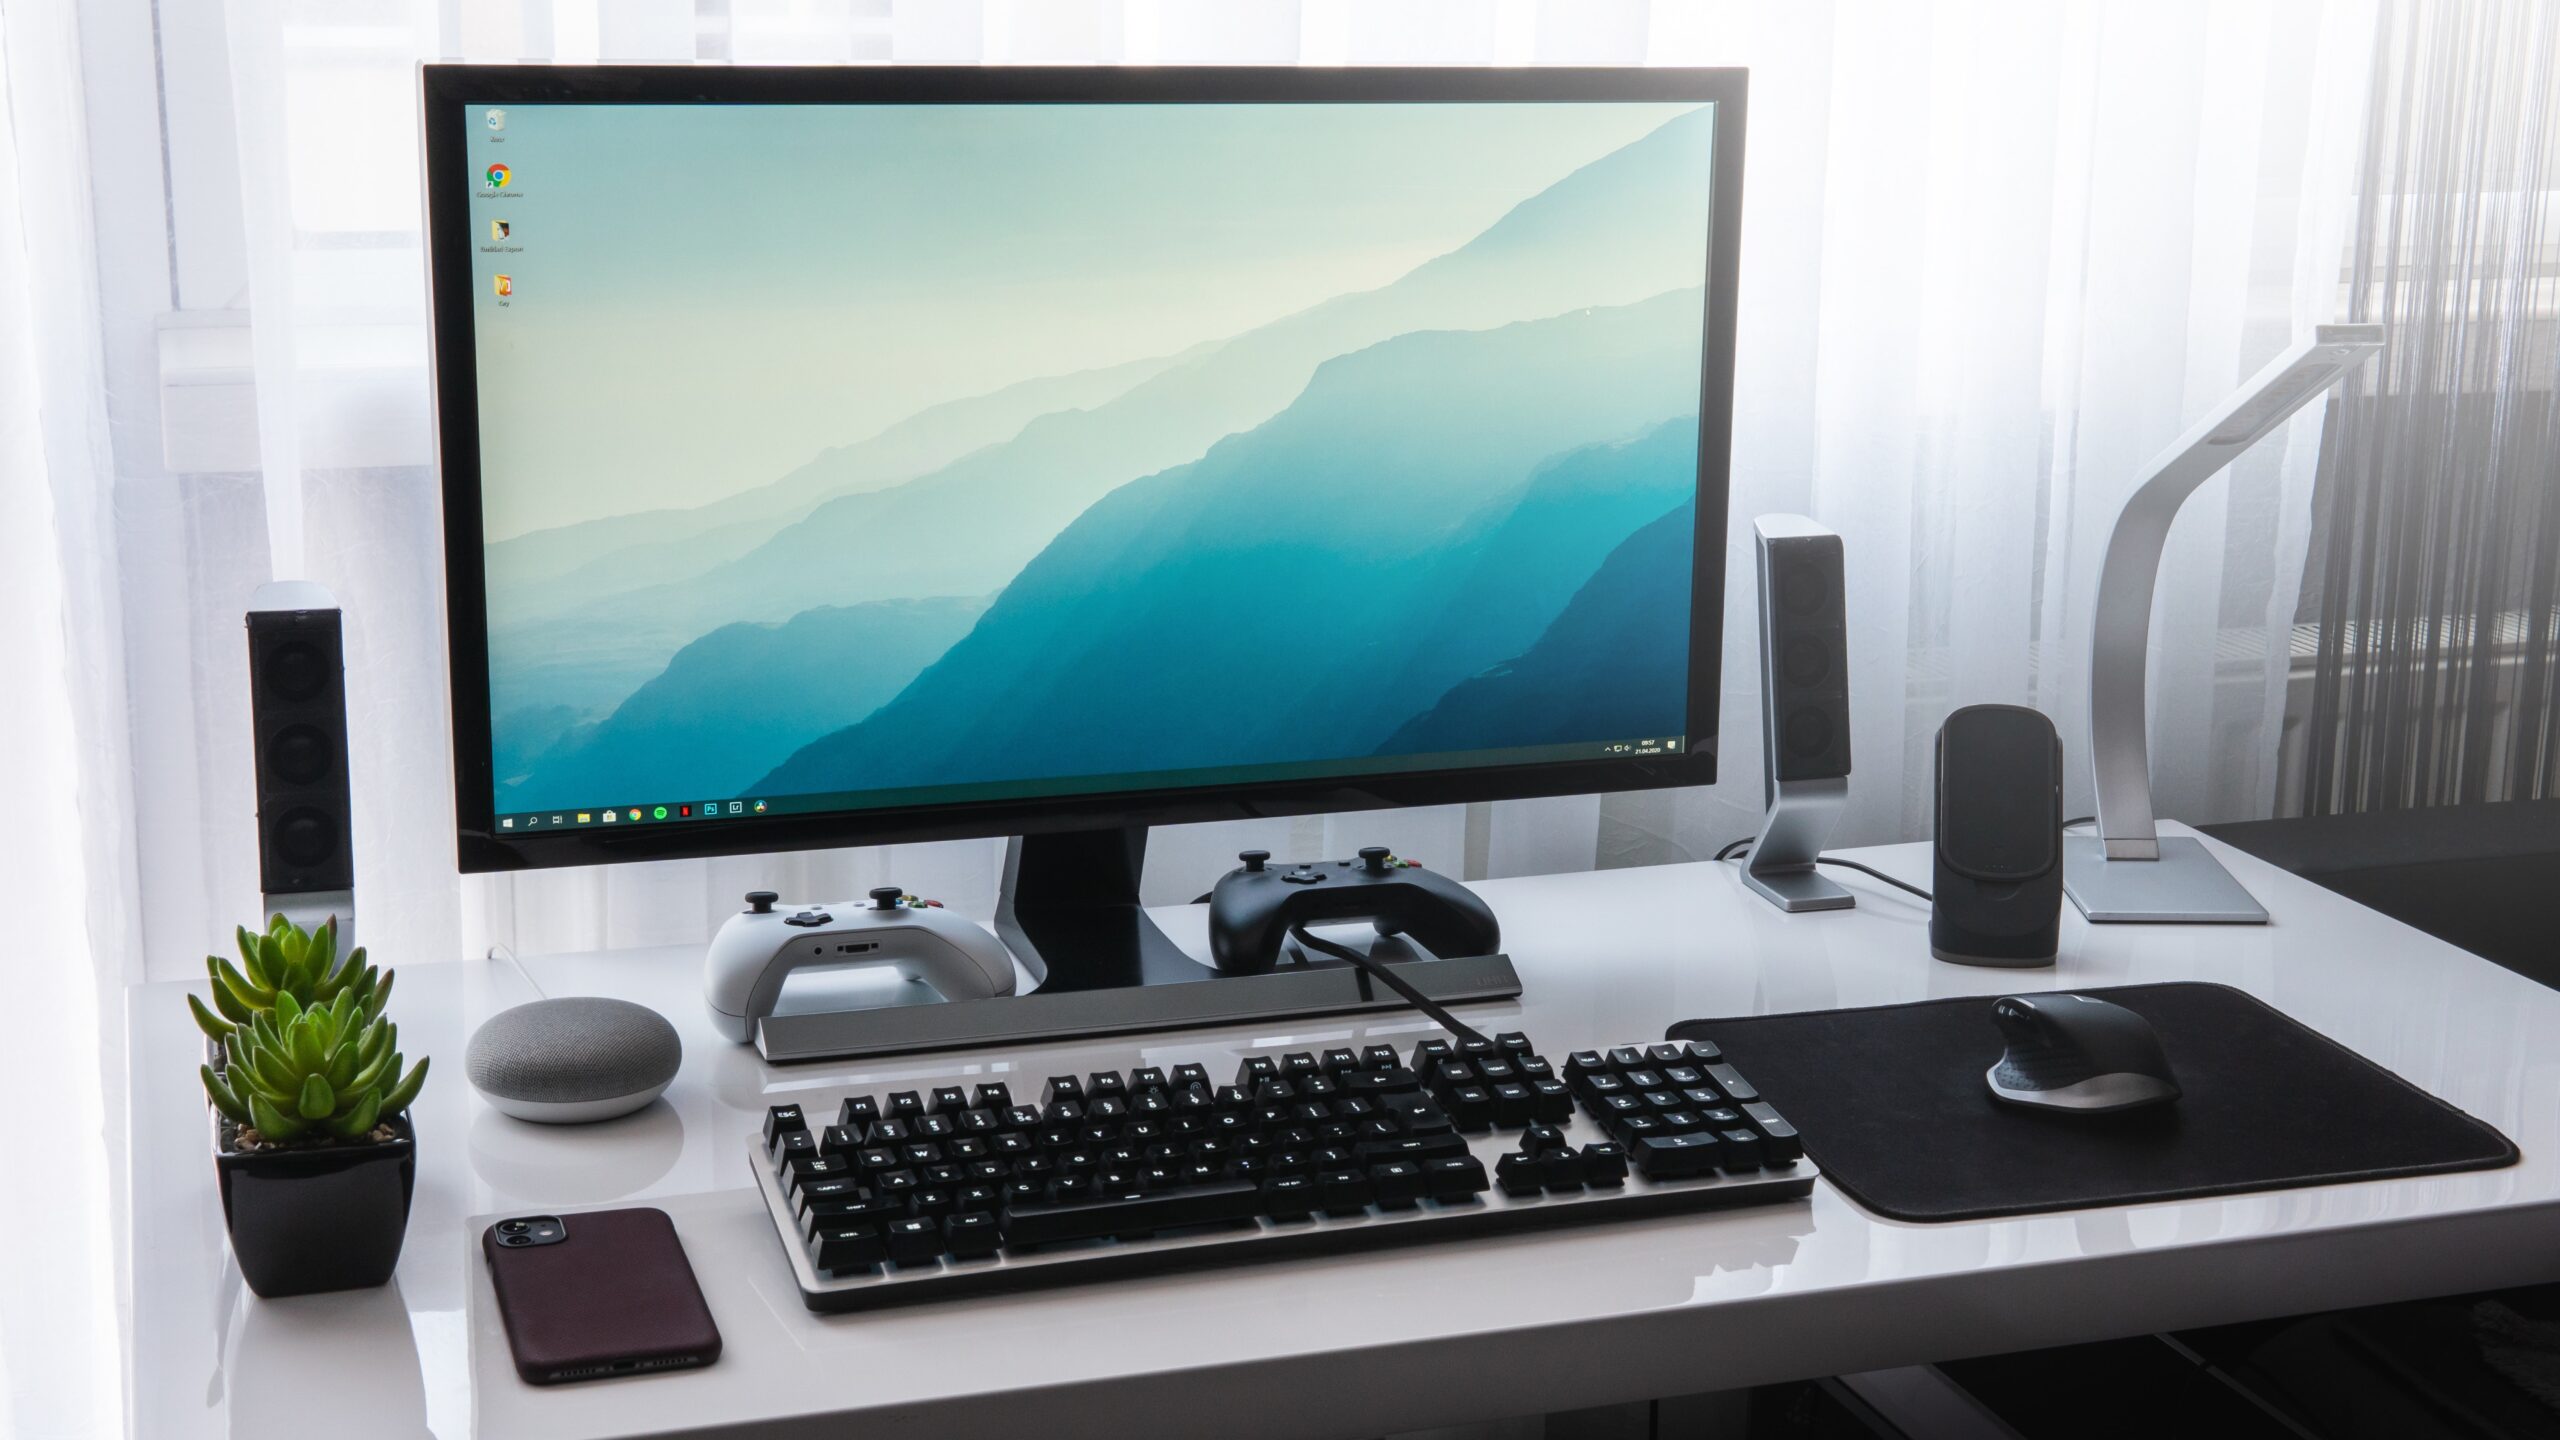
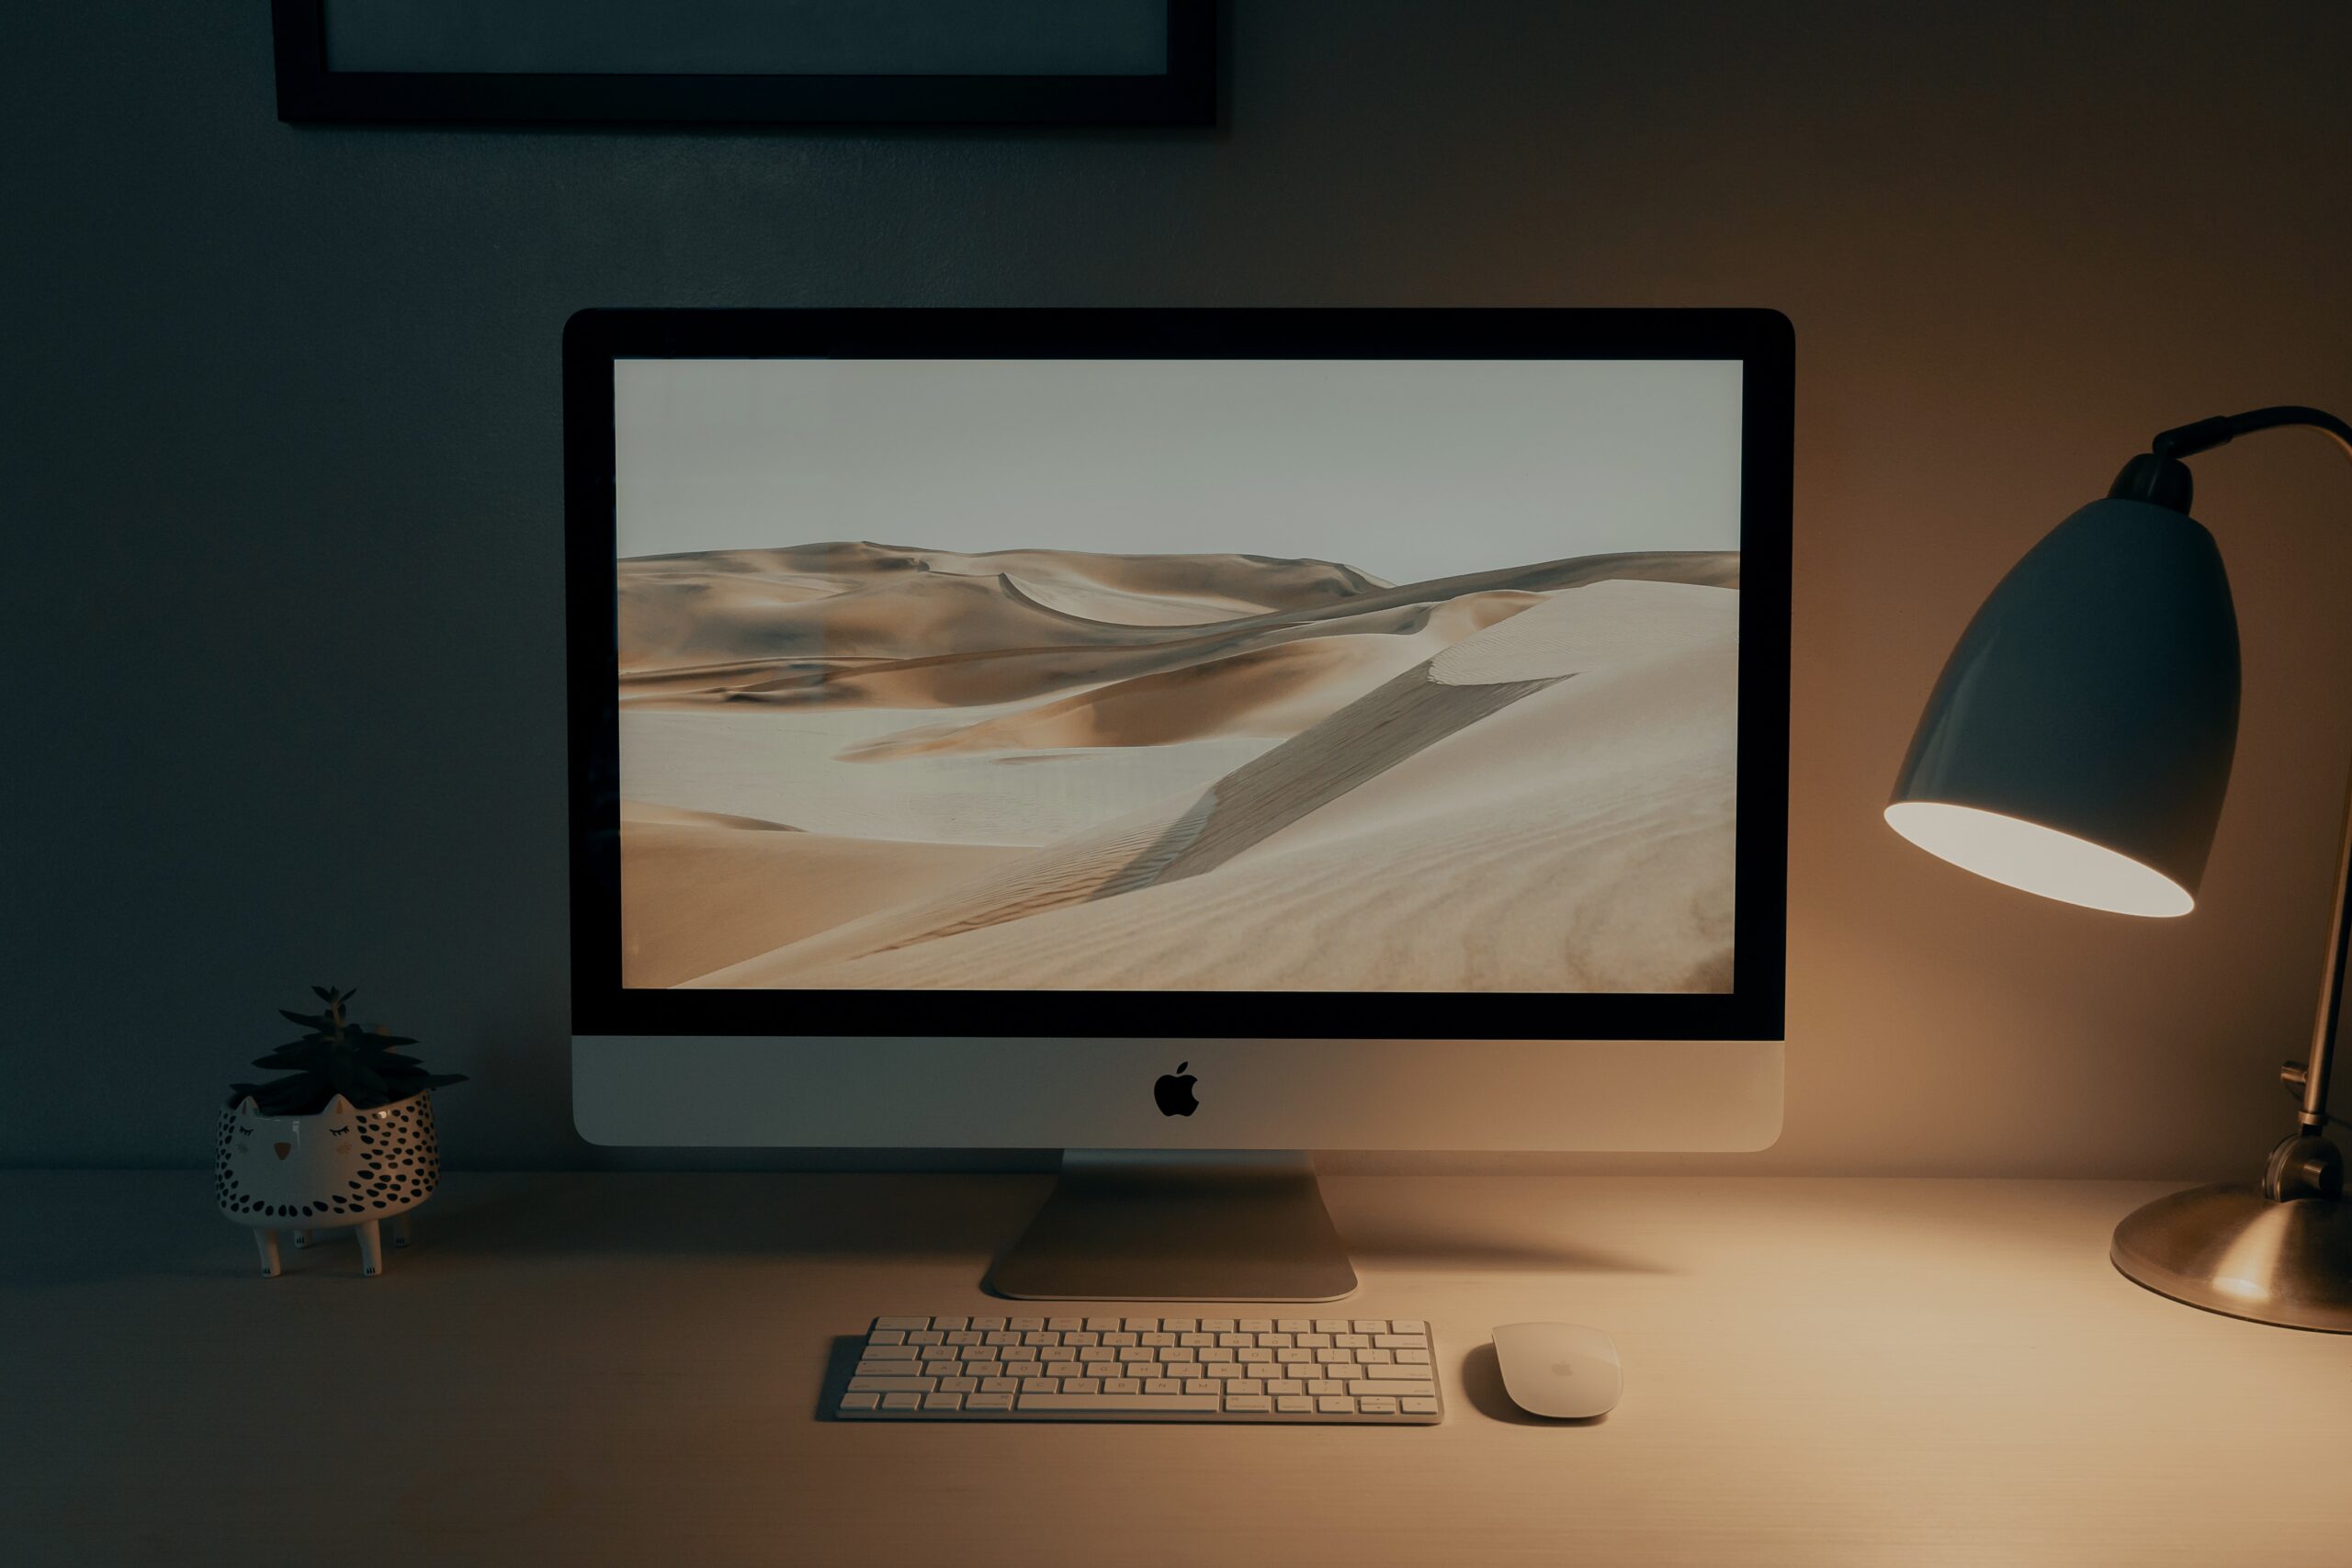
Using wallpapers with striking patterns and powerful and bright colors can add stress to your desktop as this can mix with the files that are not yet organized. Always choose wallpapers that have pleasing color combinations and patterns that are easy on the eyes.
Having well-organized files can help you be more productive by saving you time and energy. You won’t have to search for different folders and file locations if you keep practicing arranging your files since you’ll already know where you’ll look for a certain file.


